How to Water Your Home Garden Automatically with a Water Timer
By TG
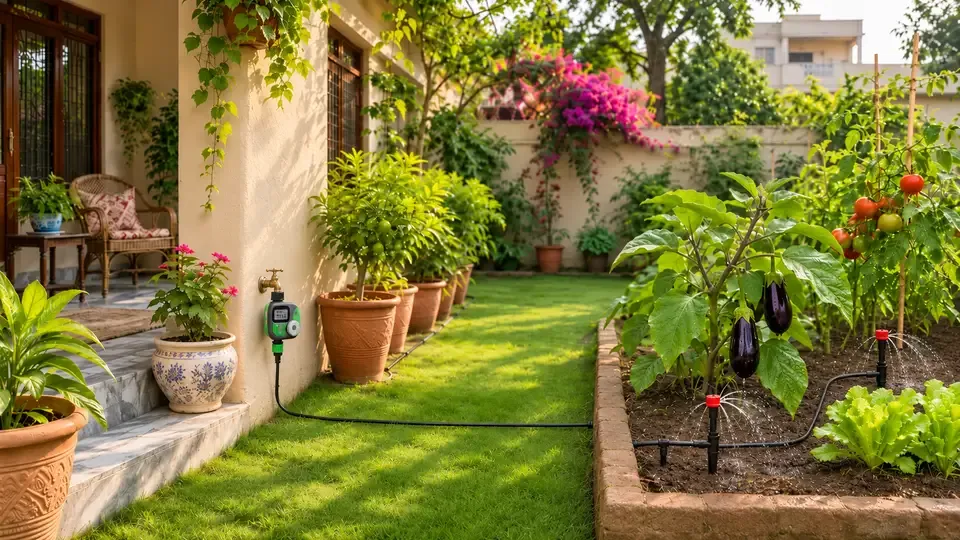
Do you forget to water your plants when life gets busy? An automatic water timer can help. It turns the water on and off at the times you set.
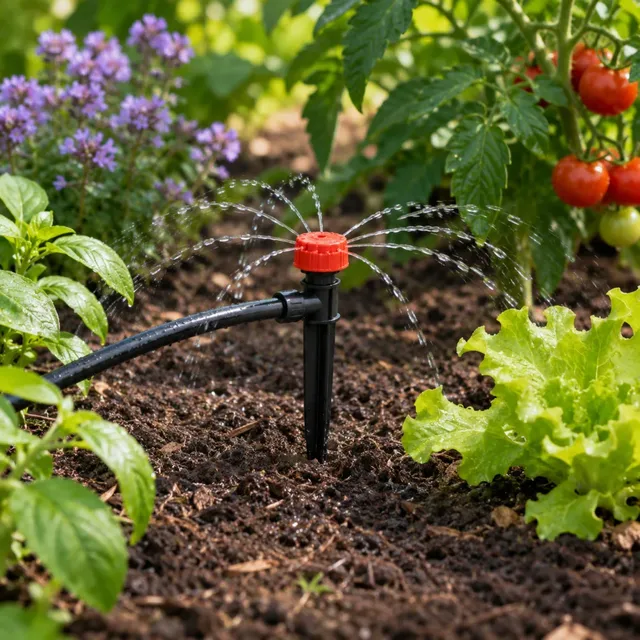
Connect it to a suitable drip irrigation system, and water can reach your plants while you are working or away. You will still need to check the system and adjust the schedule as the weather and your plants change.
How does an automatic water timer work?
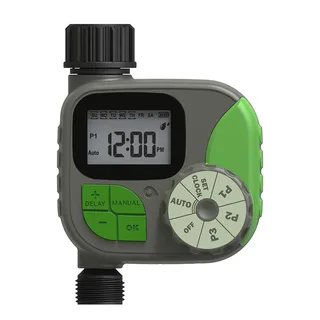
A water timer is fitted between a water supply and your garden watering line. You set when watering should start and how long it should run. The timer opens and closes its valve on that schedule.
Our automatic water timer runs on two AA batteries. Its product page lists watering times from 1 to 240 minutes per cycle. It also lists a manual mode and a rain delay setting.
A timer controls the water by time. It does not know whether the soil is wet or dry. Check your plants and change the settings when needed.
What do you need?
- A water supply with suitable pressure.
- An automatic water timer and two AA batteries.
- A suitable tap connection and any adaptors needed.
- A home gardening drip irrigation kit or another suitable watering line.
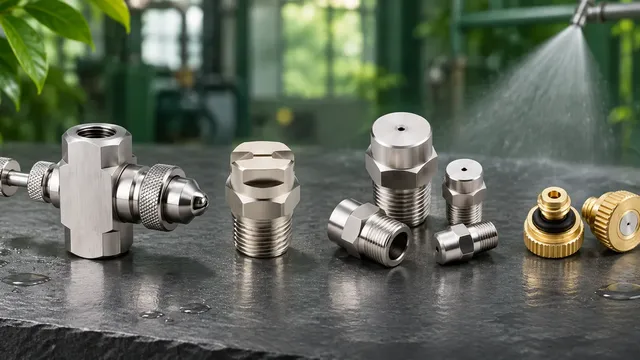
- Drippers, pipes and connectors for your plants.
Check the kit option before ordering. The parts and number of plants supported vary by option. The timer may need to be purchased separately.
Step 1: Check your tap and water pressure
First, check that the timer will fit your tap. The product page lists a 1-inch or 3/4-inch inlet and a 3/4-inch outlet. You may need an adaptor. Check the thread and the connection for your drip pipe before buying.
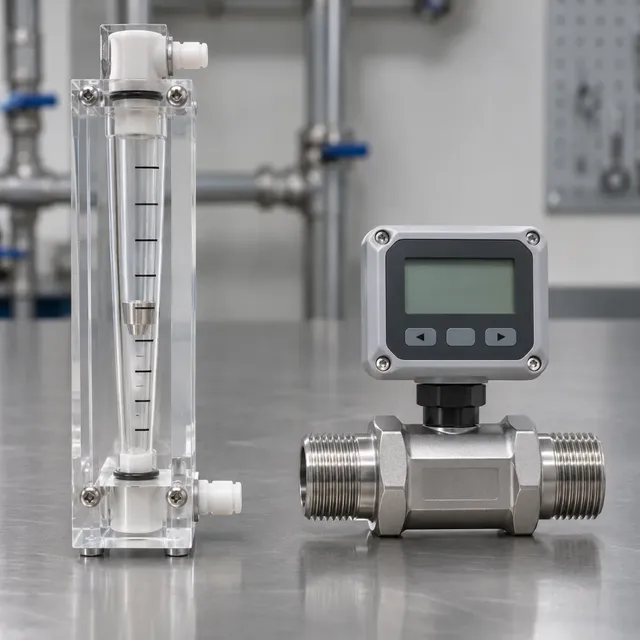
The timer's listed working pressure is 0.5 to 8 bar. Your drip kit and other fittings must also suit the pressure in your system.
Can I use a rooftop water tank?
Maybe. A tank that feeds water by gravity may not provide enough pressure at the timer. Have the pressure checked at the timer's location while the system is running. Do not assume it will work just because water flows from the tap.
If the pressure is too low or you are unsure about the fittings, contact us before ordering. A pump or a different setup may be needed. Any pump and fittings must suit the full system.
Step 2: Connect the timer and drip line
- Turn off the water supply.
- Fit the batteries as shown in the timer's instructions.
- Connect the timer to the tap using the correct fitting. Follow the direction marked on the timer or in its instructions.
- Connect the drip line to the timer outlet with the right connector.
- Lay the pipe near your plants and position the drippers near the soil.
- Turn the water on slowly. Use manual mode to test the system. Check the connections for leaks.
Follow the instructions supplied with your timer and kit. For more detail on laying pipes and fitting drippers, see our home gardening drip irrigation installation guide.
Step 3: Set a watering schedule
Set the current time, then choose when and how long you want to water. Follow the controls in the manual for your timer. Our product page lists watering durations from 1 to 240 minutes per cycle and options for intervals or days of the week.
There is no single schedule for every garden. Pots can dry out faster than garden beds. Plant type, soil, shade, heat and rain all matter.
Start with a short test. After watering, check the soil near the roots and make sure water reaches the last dripper. Adjust the drippers and timing as needed. Check again over the next few days. Avoid leaving soil soaked or letting it dry out completely.
Step 4: Use manual mode and rain delay
Need to water outside the regular schedule? The timer's manual mode lets you start watering without changing the saved programme, according to the product page.
When rain is expected, use the rain delay setting to pause scheduled watering. Check the forecast and the soil yourself. Do not rely on the timer to detect rain automatically.
Step 5: Keep the system working
- Check the battery indicator and replace the batteries when needed.
- Inspect the inlet mesh filter and clean it according to the instructions.
- Look for leaks, damaged pipes and blocked drippers.
- Check that all plants receive water, especially after changing the layout.
- Review the schedule when the season or weather changes.
Before a long trip, test the complete setup for several days. Ask someone to check it if possible. A timer cannot guarantee watering if the supply stops, a pipe leaks or a dripper becomes blocked.
Common questions
Does the timer need mains electricity?
No. The timer listed on our site uses two AA batteries. Check the battery indicator and replace the batteries when needed.
Will the timer water my plants during a power cut?
The timer itself uses batteries. Water must still be available at the required pressure. If your system depends on an electric pump, that pump may stop during a power cut unless it has a suitable backup.
Will it save water?
It can help you control when and how long you water. Actual water use depends on your settings, equipment, leaks and plant needs. Check the soil and adjust the schedule to avoid waste.
Can I use the timer with a drip kit?
Yes, if the water pressure, flow and connections suit both the timer and the drip system. Check the details of your chosen kit and fittings before buying.
Make garden watering easier
A timer and drip kit can take some work out of your routine. Start with the right connections and water pressure. Then test the system and adjust it to suit your garden.
Need help choosing a kit or connector? Contact Top Gadgets and tell us about your tap, water supply and garden.